
Making biochar in your wood fired stove
- frakutzk
- Apr 12, 2022
- 3 min read

I first heard of biochar some 10 years ago. None of my gardening friends or people in the community had made it or used it.
About 5 years ago, while traveling through Wales, we went to visit the Centre for Alternative Energy (CAT) in Machynlleth, mid Wales, and saw firsthand how biochar was made. It was surprisingly simple.
Last year a friend in Yellowknife put me onto some youtube videos. And the idea of making biochar at home became even simpler.
Click here if you'd like to get straight to the How to Make it.
Or else let's ponder on why it might be such a good idea to make it -----
Biochar is charcoal, which is biomass burned in the absence of oxygen. What you get is a solid carbon rich material that will remain stable (as in sinking carbon instead of releasing it into the atmosphere) in the soil for a good number of years.
In the context of climate change biochar has been acclaimed to potentially bend the curve in CO2 emissions to the earth's atmosphere by sequestering carbon in the soil for many thousands of years. At the same time biochar in the soil is knowns to improve its fertility, structure, water holding capacity and agricultural productivity. Activated biochar (for example simply mixed with your compost and let sit to charge for a while) can provide a highly porous surface to house a huge amount of soil micro-organisms, essential for a healthy soil food web. Elaine Ingham
It can improve nutrient leaching and the soil's ability to exchange nutrients with the plant roots.
Boasting so many benefits it has to be said that research on biochar is still fairly young and comparing large scale production and use of biochar to the thousands of years old practices of creating that dark Terra Preta soil of the Amazonian Rainforest may not be adequately contextual. Not sure also, if making biochar will prevent or significantly slow down climate change.
But in the context of small scale agriculture and sustainable practices in building healthy and stable soil I'm convinced that continuously making and adding small batches of charcoal to my compost which, of course, ends up in my garden it can make a really big difference for the soil and the produce I grow in it.
And here's how to make it
What you need:
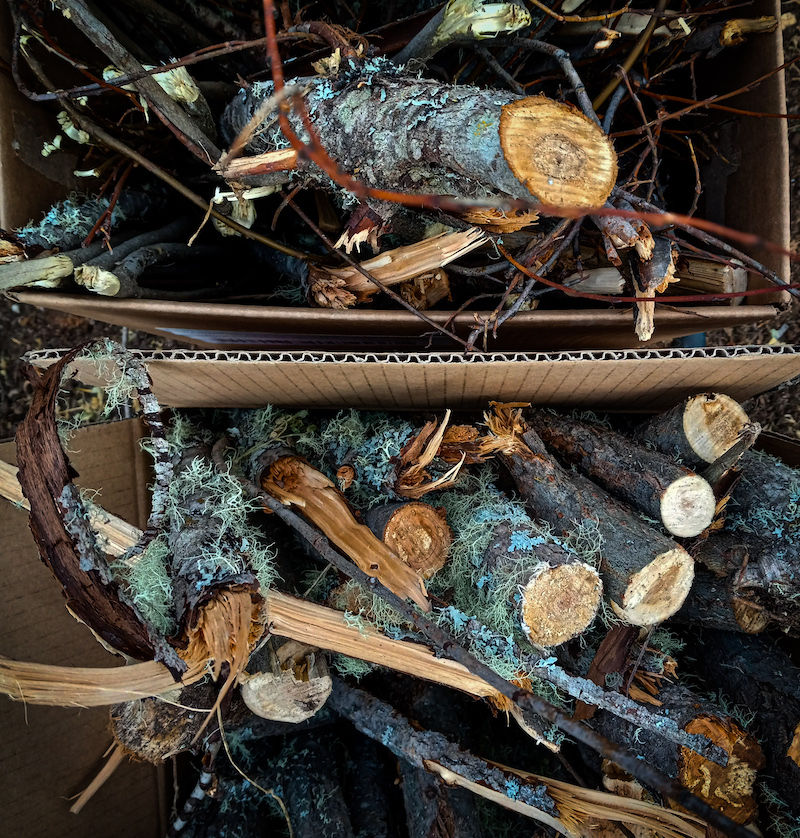
Biomass. I use whatever cuttings I end up with clearing shrubs and old trees in the fall time. Non-glued wood scraps and other cellulose based materials are also perfectly suitable. Any wood with diameter larger than 2 inches I split.
Container. Stainless steel with a lids that fits almost completely tight. (Some gas has to be able to escape, so it doesn't explode).
I use a square food containers and a 3/4 inch soil metal weight on the lid.
Woodstove. You have to have a fire chamber big enough to fit your container on top of a few chunks of wood in the fire. I typically make my charcoal in the spring when temperatures outside allow for a low to medium fire.

Cut or break your biomass material to length and fit it fairly tightly into your burning container. It's a good idea to sort the pieces into similar size diameters because that will determine how long you may need to burn them.
Close the lid, put on your weight and add to your already hot embers and a few pieces of firewood to keep your fire going. Close the wood stove door. If you have a glass door you will be able to see flames escaping your lid through the burning. When that stops your charcoal is done. Remove your container with oven mitts and let cool before you open the lid.
Small sticks will likely only take 2 - 3 hrs. Larger ones up to 5 hrs.
For better or worse, I sometimes leave my container in overnight. And it still comes out with beautiful charcoal.

I've been dumping my cooled off batches
into an old feedbag to store. Once it warms up enough for the compost building to start I will crush the larger pieces into fine pellets.
My friend suggested to just drive over it in a bag. Maybe I'll try that. Once the charcoal is all small pieces I can mix them into the compost, I will likely choose a pile that is only going to take another month or two until it's finished. By then it should be charged and ready to hit the garden and the soil where it all belongs.
I hope you have fun with this project. If you try it, or if you have already tried it, I'm happy to receive any feedback, advice, questions you may have. As with the rest of you, my operation is a learning process. Enjoy!
Oh, fun fact: Charcoal aids digestion.
And if that isn't all my daughter also
thinks it tastes and feels extremely
good for her teeth to be crunching it.
Let her dare you to try it:)


Comments